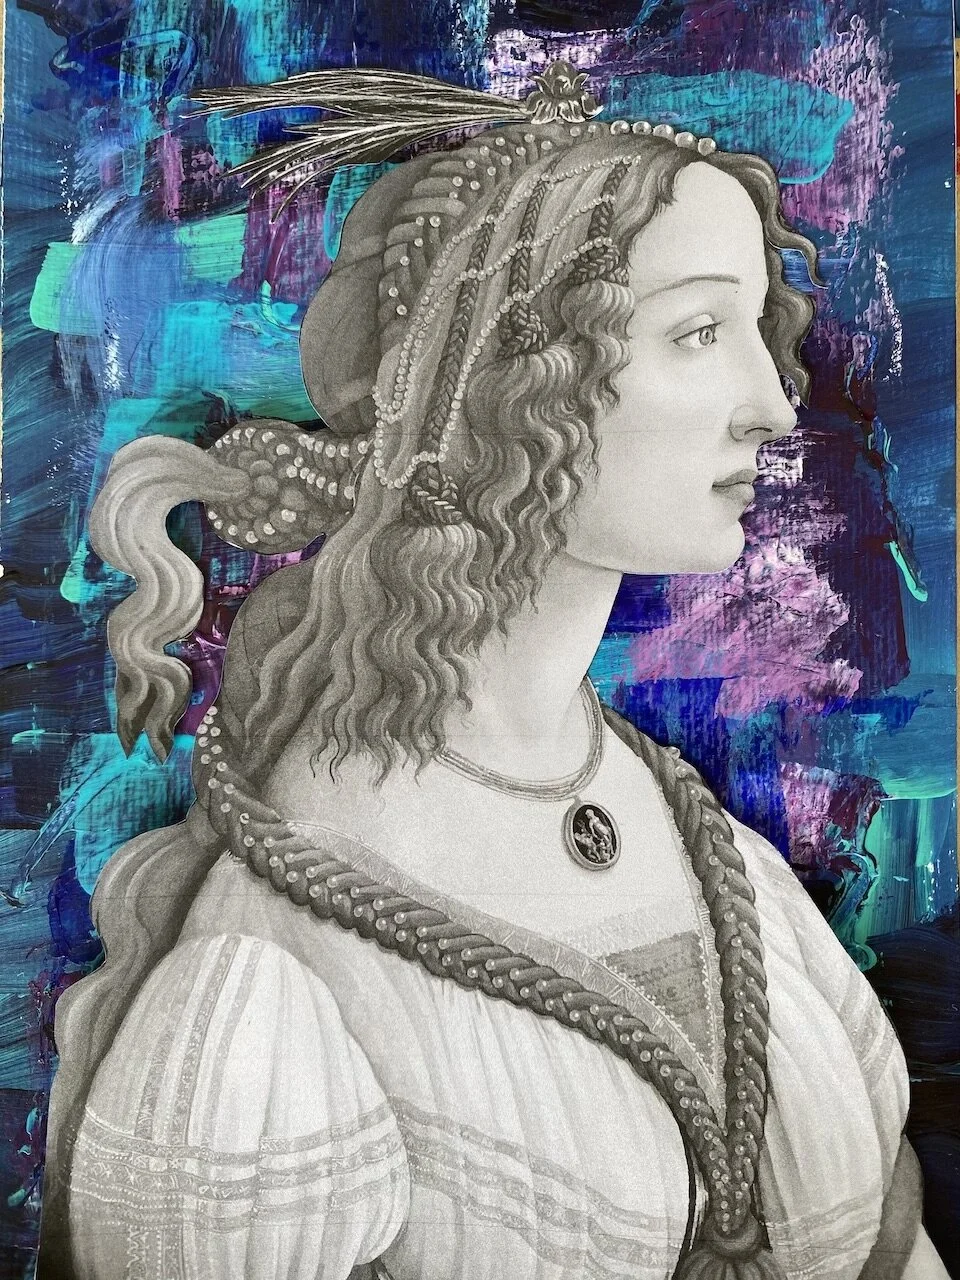
How to create a silhouette painting ~ step by step instructions
Create an Acrylic Silhouette Painting

Step 1

Choose a selection of warm colours

Smooch that paint around the paper or canvas with a paintbrush or your fingers

Once the paint is dry, gently place your image on the canvas and use white paint to brush from the image outwards. Once you've finished this step, gently lift off the image.

And voila you have a magic silhouette. I added a butterfly to this artwork and filled the rest of the background with white paint. Sometimes it's nice to let some of the background show through.

Let's use some cool colours this time

Smooching paint is so much fun

Here are some tools that I used to add another layer of texture and colour once the first layer was dry.

Here you can see the texture created with the palette knife and a touch of violet

I chose a lovely renaissance image for this artwork

Carefully painting around the image brushing from the image outwards

Then continuing the white paint throughout the background..et voila!

Experimenting with a black background.

Experimenting with saving the background and using a sponge to apply white paint to the image area instead this time

Well that turned out ok..

Let's try with watercolour this time...

Using a cut out image of eucalyptus leaves this time, placing the image gently on top of the dried watercolour wash

Using white acrylic paint to give a strong outline to the leaves..gently brushing the paint away from the image

Now for a warm colour watercolour background wash

Here was the final result..I quite like the way the white acrylic paint picked up some of the pinky red watercolour in the background
The finished artwork after I added some words...
For the written instructions please view the slideshow on a desktop computer